Does anyone know if we could apply this effect? https://typedither.vercel.app/ Thanks!
Hello @1029,
You can certainly apply it!
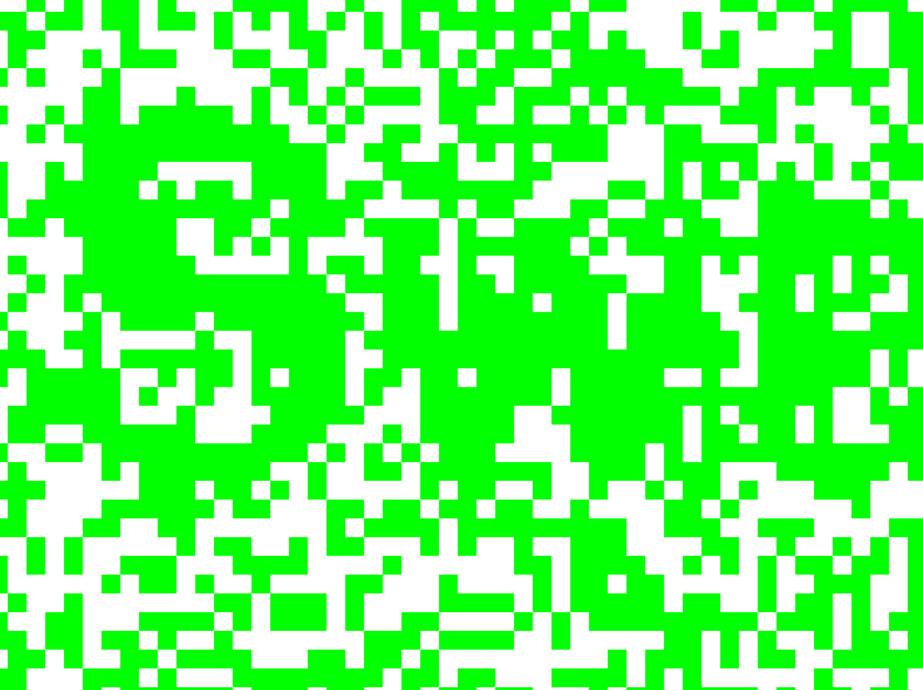
I noticed that link gives a different output on each refresh!
This is what I saw initially and now (after initial post) seeing there is text in there:
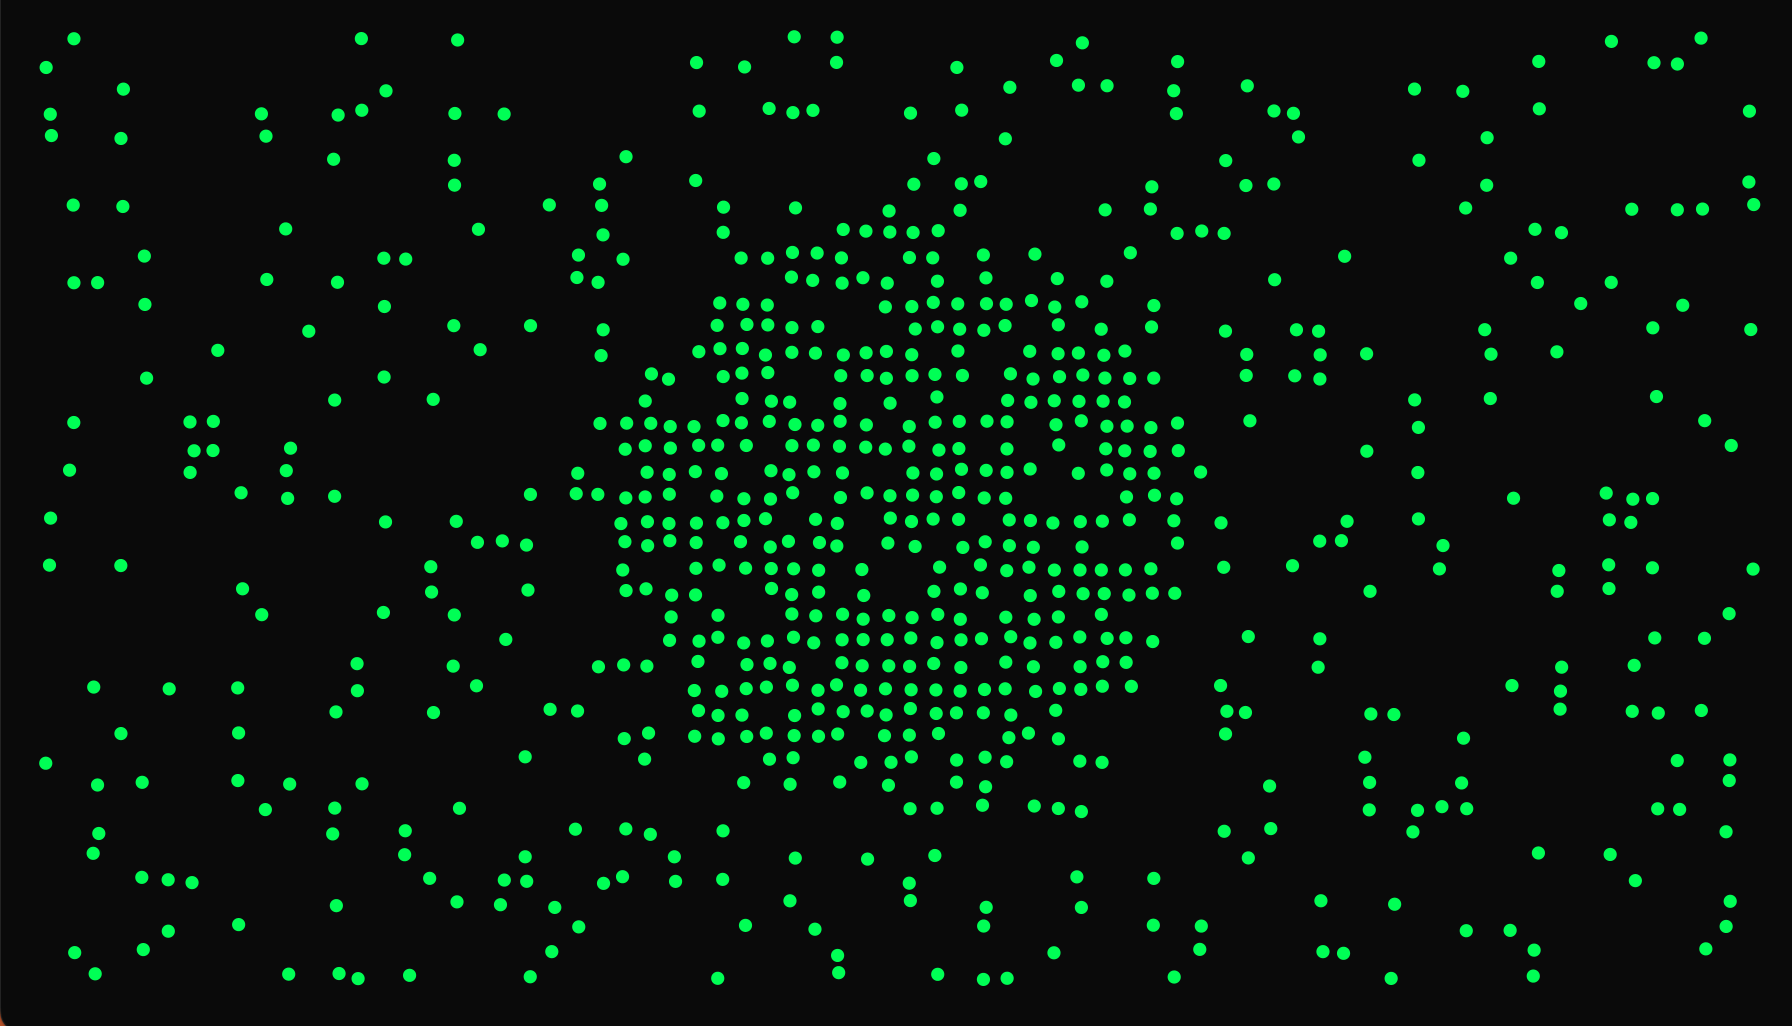
A nested for() loop is a good start for grids which seem to appear in many of the visuals:
for / Reference / Processing.org
This is from above with strokeWeight() added so you can see the points:
// Nested for() loops can be used to
// generate two-dimensional patterns
size(400, 400);

for (int i = 120; i < 320; i = i+20) {
  for (int j = 0; j < 320; j = j+20) {
    strokeWeight(3);
    point(i, j);
  }
}
Next adjust the ranges in the loop.
Replace the point with a shape (rectangle, circle, etc.).
Take a look at this reference:
random() / Reference / Processing.org
// Pseudo code:
random(0, 2) generates a number between 0 and 1.999...
if (number>1) // Adjust this for more of one or the other color
 one color
else
 another color
Additional resources:
https://processing.org/
And voila!

With the text element I would use a separate PGraphics image (same size) with text and examine where the location of the text is (check for a color) and then decide on what to do with the grid. Something like that!
Reference:
This is achievable with text:

Since this is homework I will leave the rest to you!
Have fun!
:)
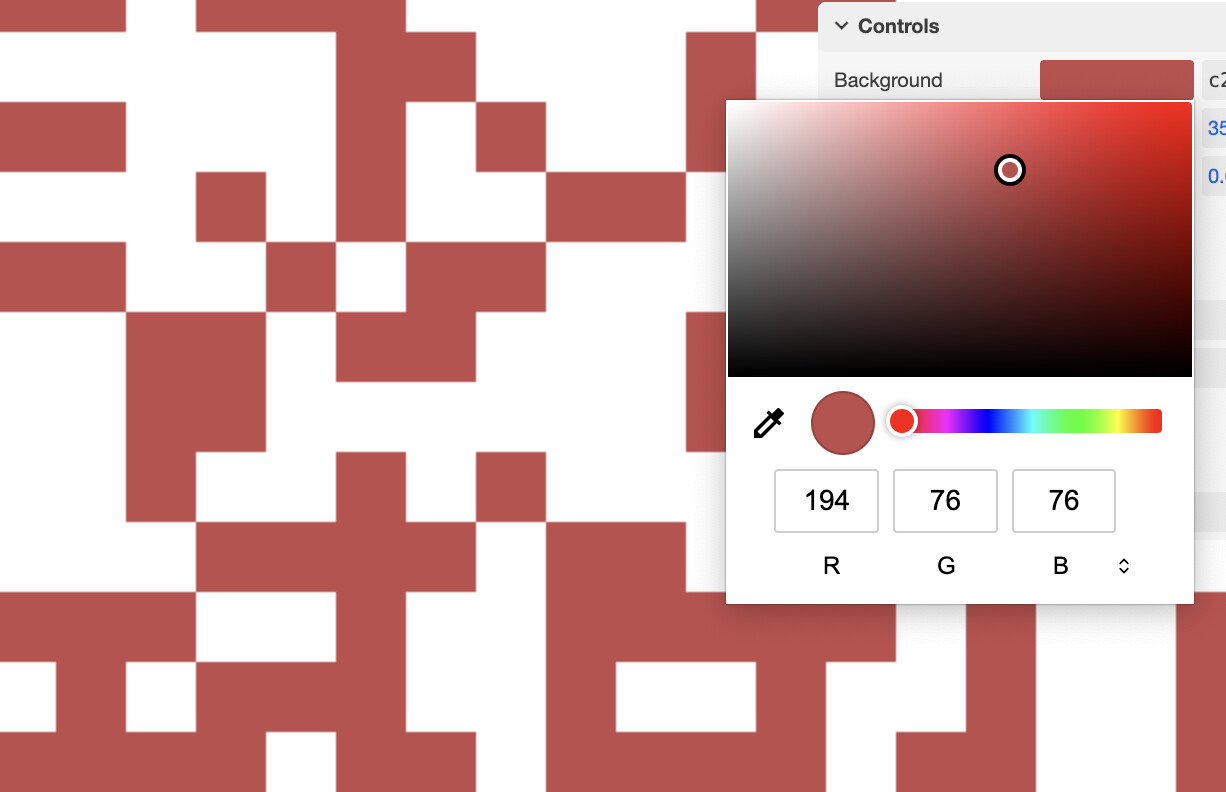
Omgggg thanksss so much!! I already made oone why help of ai. but there is one thing, i tried so many things, the pic i used just wont be the center. could you please figure it out why? thanks so much!
// === Pixel Distortion + Top-Layer Mosaic (B/W only, no blur) ===

// Controls:

//   \[ / \]  : distortion down/up (0..1), reshuffles each 0.01 step

//   , / .  : mosaic level down/up (1..50) → block size 10..900 px

// Image: place data/1.png

PImage img;          // original

PImage imgFit;       // scaled to fit canvas, aspect preserved

PGraphics scene;

int cellSize = 16;        // grid size for random mask

float distortion = 0.02;  // 0..1 — probability a cell is revealed

int mosaicLevel = 10;     // 1..50 → 10..900 px blocks

// draw offsets to center the fitted image

float imgX = 0, imgY = 0;

void settings() {

  size(900, 900);

  noSmooth();             // no interpolation anywhere

}

void setup() {

  img = loadImage("1.png"); // put in data/

  if (img == null) {

    img = createImage(800, 800, RGB);

    img.loadPixels();

    for (int i = 0; i < img.pixels.length; i++) img.pixels\[i\] = color(255);

    img.updatePixels();

  }

  // --- Fit image to canvas (contain) and center it ---

  float sx = width  / (float)img.width;

  float sy = height / (float)img.height;

  float scaleFit = min(sx, sy);                    // contain (no cropping)

  int fitW = max(1, round(img.width  \* scaleFit));

  int fitH = max(1, round(img.height \* scaleFit));

  imgFit = img.copy();

  imgFit.resize(fitW, fitH);

  imgX = (width  - fitW) \* 0.5f;

  imgY = (height - fitH) \* 0.5f;

  scene = createGraphics(width, height);

  noStroke();

}

void draw() {

  // --- 1) Compose image + random pixel mask into scene ---

  scene.beginDraw();

  scene.noStroke();

  scene.noSmooth();

  scene.background(0);                 // black around the fitted image

  scene.image(imgFit, imgX, imgY);     // draw fitted, centered image

  int step = max(0, (int)floor(distortion \* 100));

  scene.fill(0);

  for (int y = 0; y < height; y += cellSize) {

    for (int x = 0; x < width; x += cellSize) {

      float r = hash01(x, y, step);

      boolean reveal = r < distortion;

      if (!reveal) scene.rect(x, y, cellSize, cellSize);

    }

  }

  scene.endDraw();

  // --- 2) Convert to pure black & white (no grays) ---

  scene.loadPixels();

  for (int i = 0; i < scene.pixels.length; i++) {

    float b = brightness(scene.pixels\[i\]);

    scene.pixels\[i\] = (b > 127) ? color(255) : color(0);

  }

  scene.updatePixels();

  // --- 3) Apply mosaic filter on B/W scene ---

  int block = (int)map(mosaicLevel, 1, 50, 10, 900);

  block = constrain(block, 1, max(width, height));

  background(0);

  noStroke();

  for (int by = 0; by < height; by += block) {

    for (int bx = 0; bx < width; bx += block) {

      int sx = min(bx + block/2, width  - 1);

      int sy = min(by + block/2, height - 1);

      int c = scene.get(sx, sy);

      fill(c);

      rect(bx, by, block, block);

    }

  }

  // HUD

  fill(255);

  text("distortion: " + nf(distortion, 1, 2) + "  (\[/\])    "

     + "mosaic: " + mosaicLevel + " → block≈" + block + "px  (,/.)", 16, 24);

}

void keyPressed() {

  if (key == '\[') distortion = max(0, distortion - 0.01);

  if (key == '\]') distortion = min(1, distortion + 0.01);

  if (key == ',') mosaicLevel = max(1, mosaicLevel - 1);

  if (key == '.') mosaicLevel = min(50, mosaicLevel + 1);

}

// deterministic per-cell PRNG in \[0,1)

float hash01(int x, int y, int s) {

  int h = x \* 374761393 ^ y \* 668265263 ^ s \* 70001877;

  h = (h ^ (h >> 13)) \* 1274126177;

  h ^= (h >> 16);

  return (h & 0x7fffffff) / (float)0x7fffffff;

}

If you are running this on an Apple machine you might need to set the pixelDensity to 1
If you are not using an iMac or other Apple computer with a retina display then ignore my last message.
Since it doesn’t appear to work with text how are you creating the text image? Are you sure the text is centred in the original image used?
That certainly is AI code!
I can’t assist you with AI generated code.
I recommend you do this without AI and use PGraphics to generate an image with text.
Resources:
- Reference / Processing.org < See the Typography section.
- Tutorials / Processing.org < See the Typography section.
- PGraphics / Reference / Processing.org < See related references at bottom as well
- get() / Reference / Processing.org < Use this for the PGraphics image created
Thanks! It is really good to know PixelDebsity“ on mac
We all have to start somewhere!
If you want to learn from an AI you need to train it first to work with your intended workflow “otherwise it does all the work for you, producing errors, inefficiencies, and bloated code”. < I asked ChatGPT to phrase that last part about code it generates!
You also need experience with prompting and customizing an AI along with programming experience to scrutinize the results.
This is beyond the scope of this topic or forum.
The AI generated code you cut and paste feedback:
- formatting could be improved; lots of blank lines
- it is not runnable and has extra
\(back slashes) that need to be removed - it has some advanced AI generated (assuming) code; ChatGPT even said it is not a good Java version and made recommendations!
A simple random function can also provide sufficient distribution of values across the range.
Add a randomSeed() and it won’t change.
If the deterministic hash code is desired that can be added later.
That hash function is cool code and I spent the morning researching it!
This is achievable with the concepts I provided and without an AI generating the complete code.
KISS < Keep It Super Simple and learn to code from the ground up.
You need to build a strong foundation and then build on that.
I encourage you to read the Welcome to the Processing Foundation Discourse and the Guidelines that are linked:
Welcome to the Processing Foundation Discourse
Lots of good stuff in there for someone new to Processing and this Community.
I am trying to help!
Honest feedback is always good and will make you a better programmer.
:)
Thanks for pointing that out @quark! Just to add: this isn’t limited to Apple machines. This issue will happen on any high-DPI display, including retina and others. A volunteer contributor is working on resolving this, but it’s not a simple issue to fix so it may take a while longer. You can follow the progress here: GitHub PR #1145.