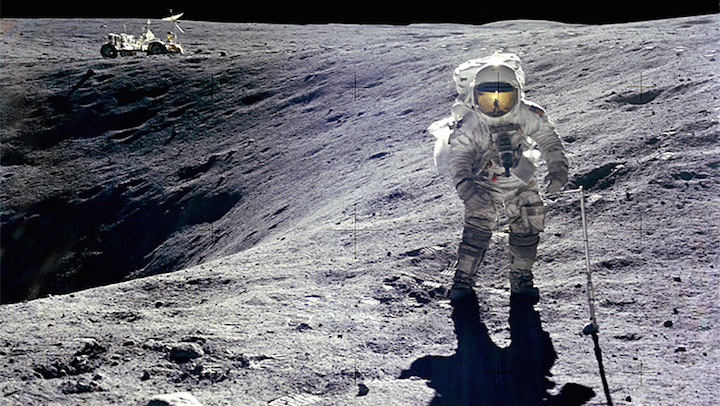
Hi, I’m back after few tests. So I made the code work as I wanted and the problem is, without any surprise, the resolution. The image I want to work with is 5184x3456 pixels. What I want to do is to have a filtered square that move randomly on the image at a reasonnable frame rate (2 frame/s would be ok). For now, until the code work fluidly, I just made the square move on a line. This basically the same code but I removed the mouseX and mouseY and replaced them by a variable I incremente every loop:
let img;
let w = 150;
let a = 50; //position variable that will be incremented to make the filtered square move
let v = 10;
let r = 200;
// It's possible to convolve the image with many different
// matrices to produce different effects. This is a high-pass
// filter; it accentuates the edges.
const matrix = [
  [-1, -1, -1],
  [-1,  9, -1],
  [-1, -1, -1]
];


function preload() {

  img = loadImage('moonwalk.jpg');

}

function setup() {
  createCanvas(900,600);
  img.loadPixels();

  // pixelDensity(1) for not scaling pixel density to display density
  // for more information, check the reference of pixelDensity()
  pixelDensity(1);
}

function draw() {
  // We're only going to process a portion of the image
  // so let's set the whole image as the background first
  background(img);


   // Calculate the small rectangle we will process
  // const xstart = constrain(a - w / 2, 0, img.width);
  // const ystart = constrain(a - w / 2, 0, img.height);
  // const xend = constrain(a + w / 2, 0, img.width);
  // const yend = constrain(a + w / 2, 0, img.height);
  const matrixsize = 3;

  loadPixels();
  // Begin our loop for every pixel in the smaller image
  for (let x = xstart; x < xend; x++) {
    for (let y = ystart; y < yend; y++) {
      let c = convolution(x, y, matrix, matrixsize, img);

      // retrieve the RGBA values from c and update pixels()
      let loc = (x + y * img.width) * 4;
      pixels[loc] = red(c);
      pixels[loc + 1] = green(c);
      pixels[loc + 2] = blue(c);
      pixels[loc + 3] = alpha(c);
    }
  }
  updatePixels();

// I increase the square position here
  a = a + 5;
}

function convolution(x, y, matrix, matrixsize, img) {
  let rtotal = 0.0;
  let gtotal = 0.0;
  let btotal = 0.0;
  const offset = Math.floor(matrixsize / 2);
  for (let i = 0; i < matrixsize; i++) {
    for (let j = 0; j < matrixsize; j++) {
      // What pixel are we testing
      const xloc = x + i - offset;
      const yloc = y + j - offset;
      let loc = (xloc + img.width * yloc) * 4;

      // Make sure we haven't walked off our image, we could do better here
      loc = constrain(loc, 0, img.pixels.length - 1);

      // Calculate the convolution
      // retrieve RGB values
      rtotal += img.pixels[loc] * matrix[i][j];
      gtotal += img.pixels[loc + 1] * matrix[i][j];
      btotal += img.pixels[loc + 2] * matrix[i][j];
    }
  }
  // Make sure RGB is within range
  rtotal = constrain(rtotal, 0, 255);
  gtotal = constrain(gtotal, 0, 255);
  btotal = constrain(btotal, 0, 255);

  // Return the resulting color
  return color(rtotal, gtotal, btotal);
}
What was happening when my first tries with this image didn’t work was that I defined a smaller canvas than the image size. So, if someone could tell if it’s right, it seems that when we do that the image is constrained and pixels or stripes of pixels are not well reconstructed. By instance it appears regular stripes with a color that seems to come from the image, probably artifacts. I don’t even have the filter square on this resolution.
I’ll try on a local server to see if it’s the same. By the way I wanted to know if the preview window of the p5 editor is movable because I can’t display large images and see if something is working on.
I think I have to go deeper on the question of the convolution algorithm (maybe there exists a sort of fast convolution as for the Fourier transform ?). The code is pretty straigth forward, compute all the pixels in the square and let’s go, I know image processing requires a lot of ressources but it should be possible to optimize it. If someone has advices on these issues I would appreciate.
